AutomationLinks
This blog post has been researched, edited, and approved by expert Hannah Peake. Join our newsletter below to get our free marketing guides.
In this post Brad Smith will explain how to log-in and make a new blog post in your Wordpress website.
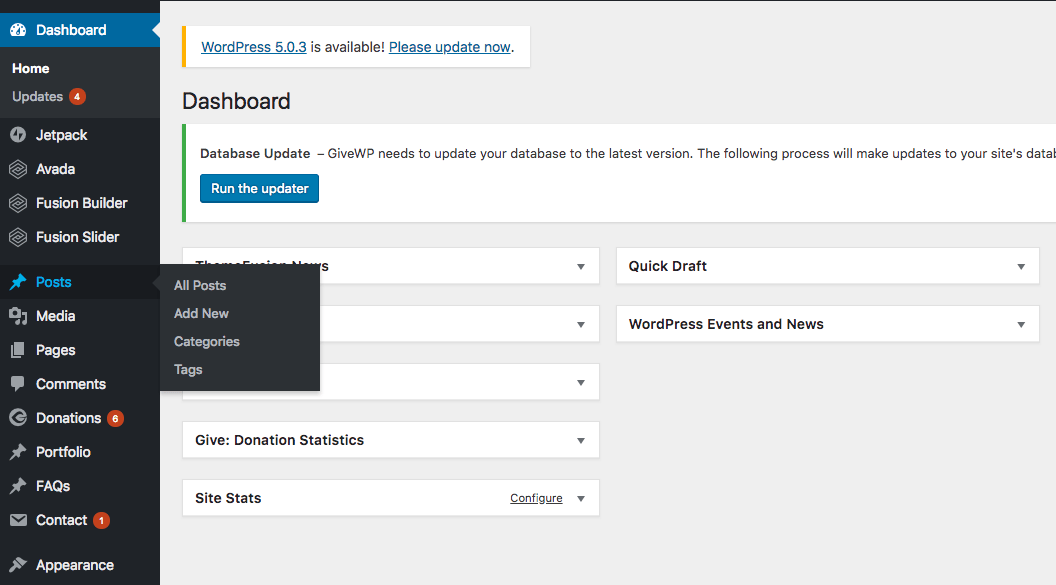
Find The Posts Section
First I like to get logged in before trying to navigate to specific pages. Once you're logged in it will be much easier to go to the specific post to make edits.
Option #1: After you log-in go to the specific post you want to edit and click "edit page" at the top of the page to edit that specific page.
Option #2: Click on "view pages" on the left menu to find the specific page you would like to edit.
Option #3: Brand new blog post, click on "add new"
Create or Edit A Post
Now that you've found the blog post you want to edit, click "edit" to get to the backend of your website. Depending on which website builder that was used for your site you will want to click "edit" see images below.

Add A Title
This will be the title of the blog post, name your images, URL and title the same for Google purposes.
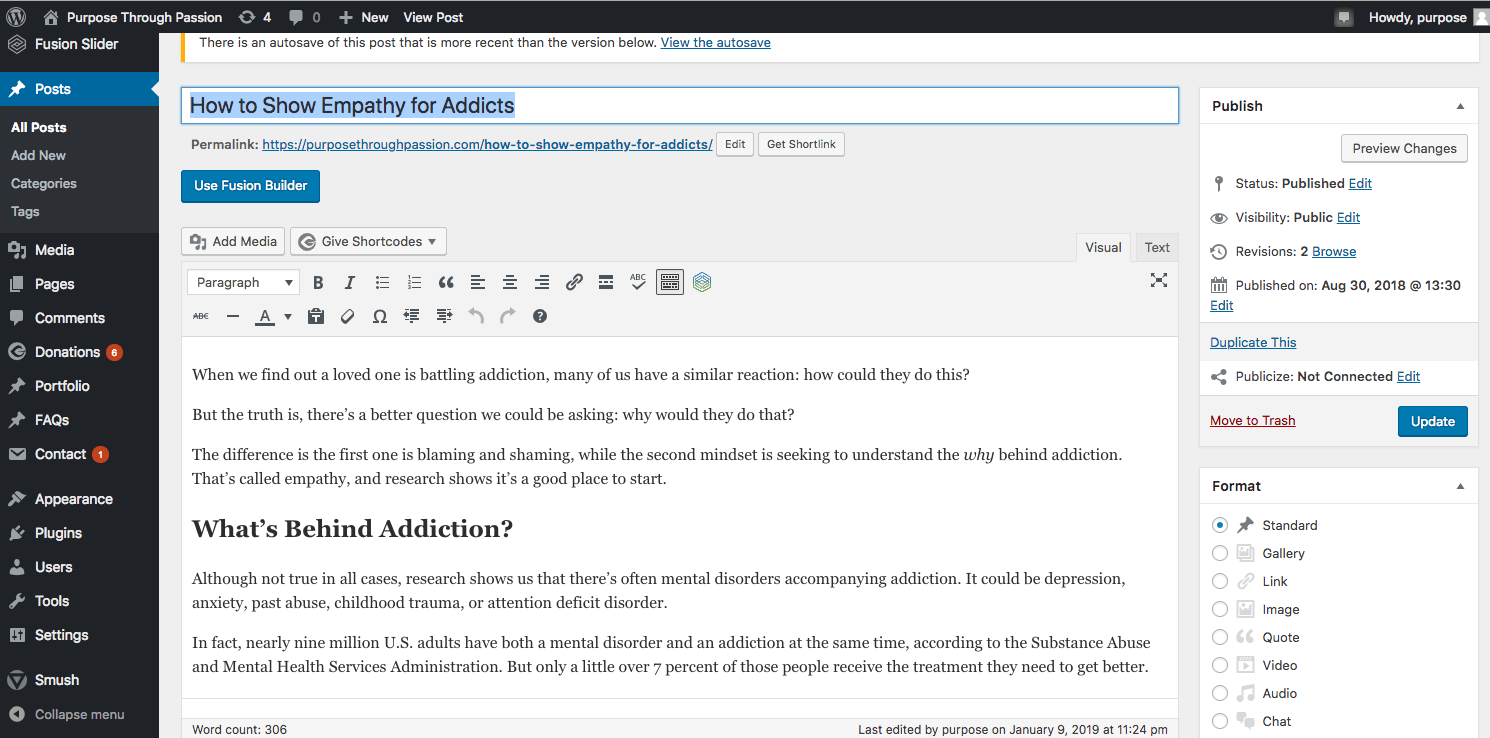
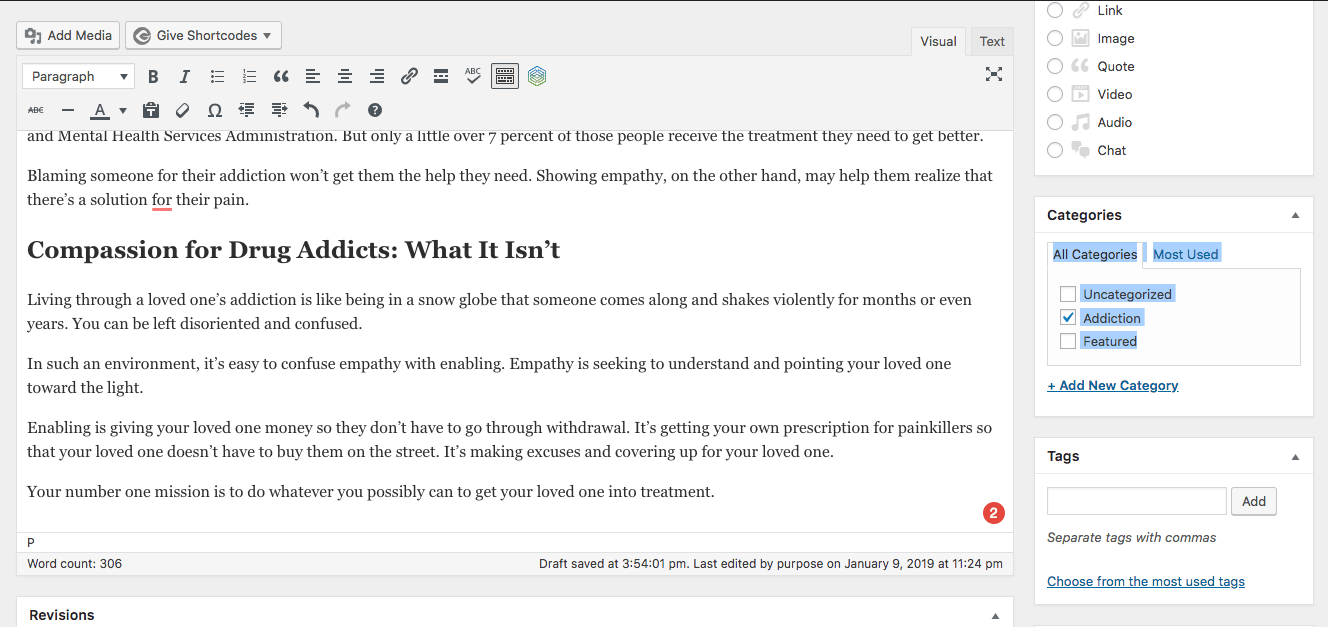
Add Your Description
This will be your main blog post, you can add Headings (separators) and Images.

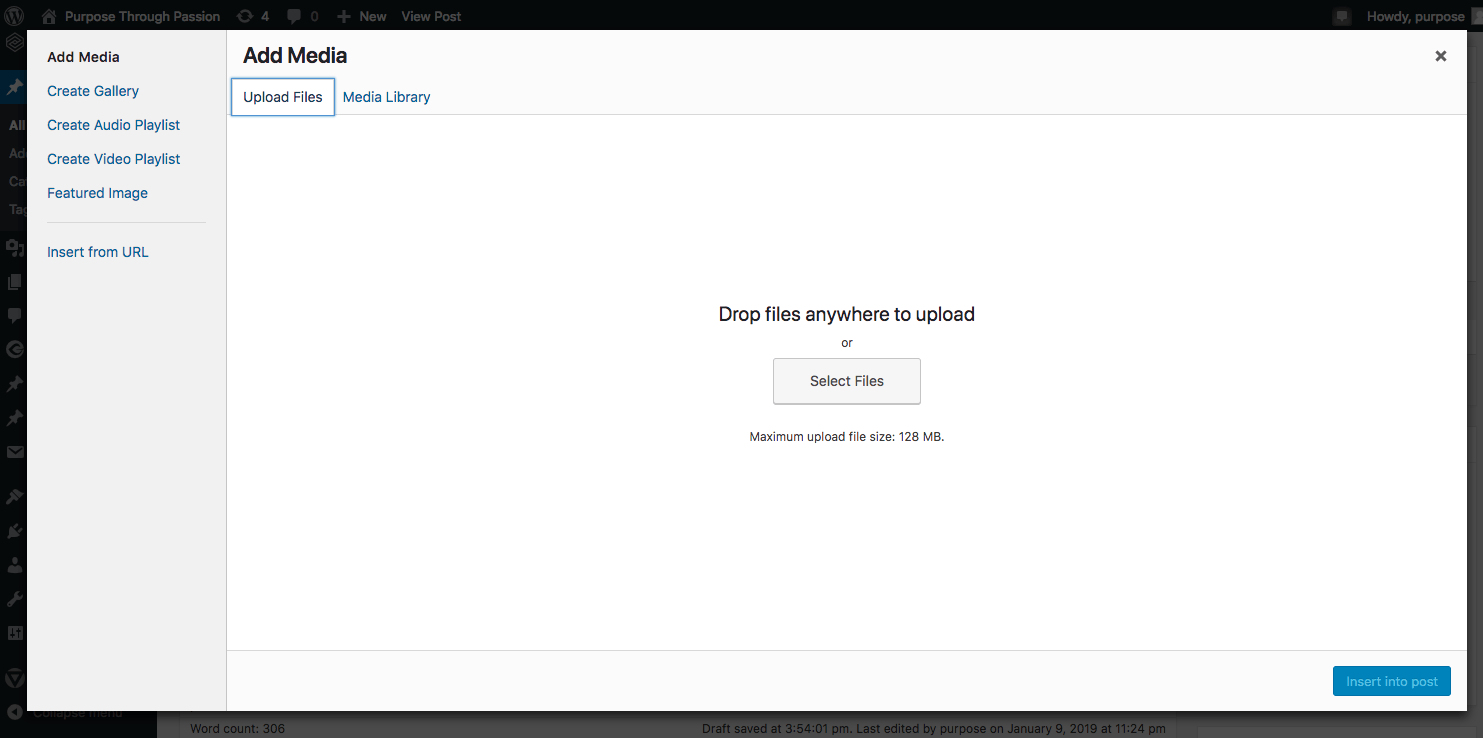
Add New Media
Click on "Add Media" on the top left to access your media page so you can upload new images. Refer to the video for more details.
Create Category (or use previous category)
A category helps you determine what the blog is about to help categorize your post so it's easier for your clients to navigate through your blog posts.
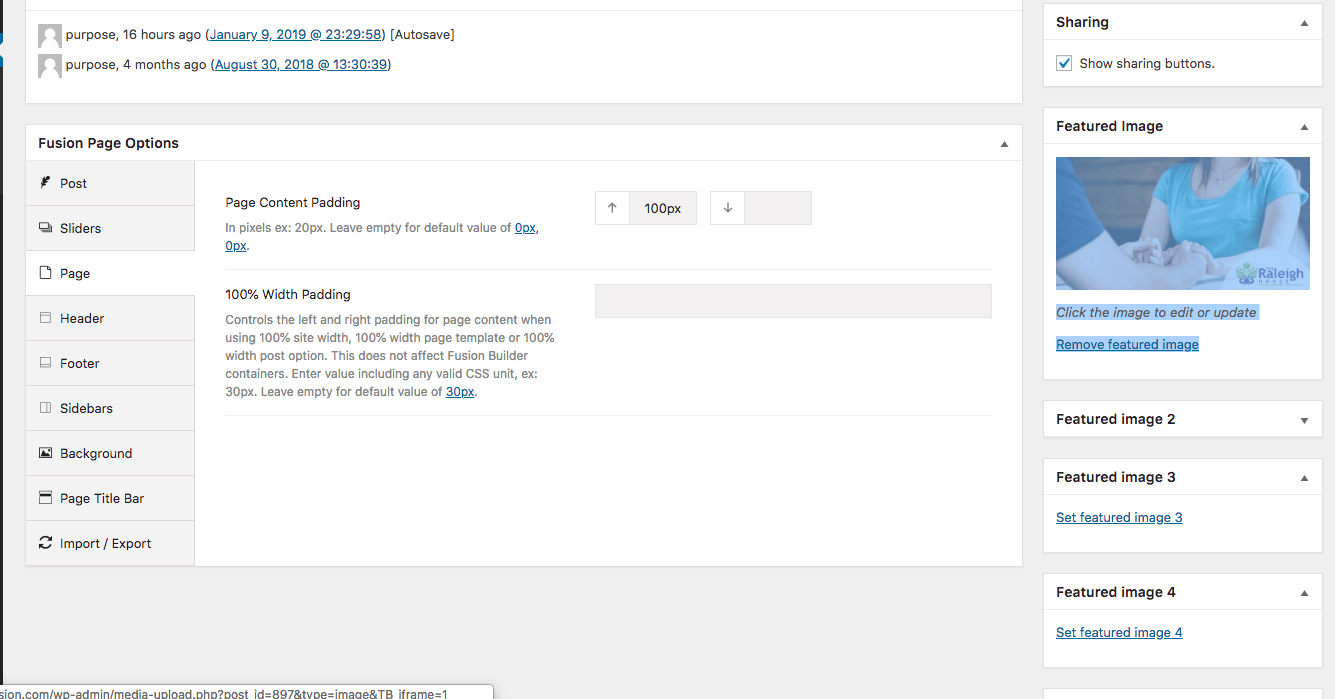
Add Featured Image
The featured image is the image that goes at the top of your blog post and what shows up when you share on social media.
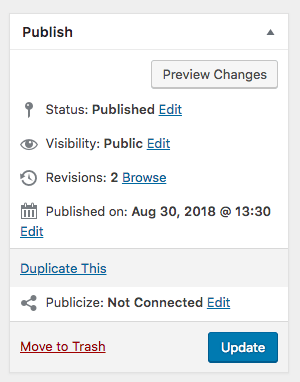
Save or Preview Page
After previewing the page and making your edits you can "Update" page or if it's a brand new page it will say "publish."
Start A Live Chat
Need help along the way? Start a live chat with us on this page if you need any help!
Recommended Software
We are an affiliate of these companies and receive a commission when you purchase.


Recent Posts